Importing and exporting files
Importing models
Go to
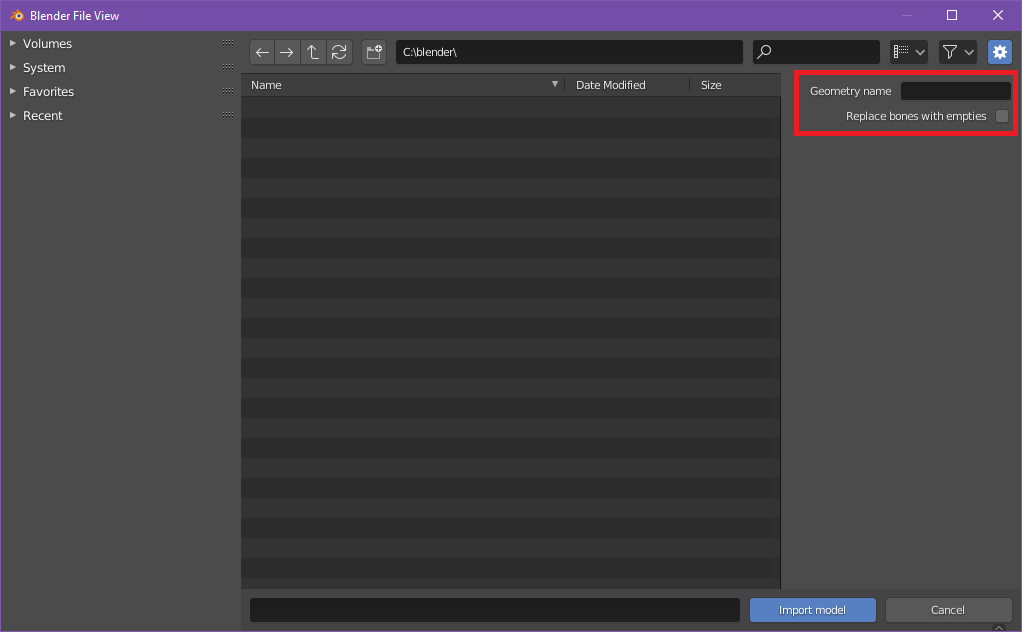
File -> Import -> Import Bedrock ModelSet the import properties on the right side of the file explorer.
“Geometry name” lets you specify the name of the model that you want to import from the file. You can leave it blank to import the first model from the list. Don’t add the
geometry.prefix to the model name (it’s added automatically).
Find the model file in the file explorer and press “Import model” to finalize the importing.
Note
Alternatively you can use the resource pack panel to import models from Minecraft resource packs.
Exporting models
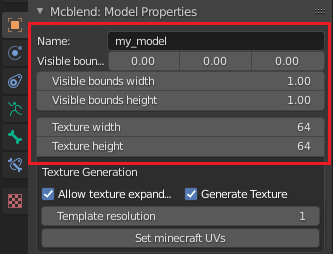
The “Export models” panel is used to export models. You can set the
name and visible model bounds here. The exported model will automatically add
the geometry. prefix to the name so you don’t have to do that.
Select the armature which represents your model.
In the Object Properties of the armature you’ll be able to change some settings related to exporting.
When you finish adjusting the model settings, go to
File -> Export -> Export Bedrock ModelChoose the output path in the file explorer window.
Exporting animations
Note
Mcblend exports animations using key frames. Molang is not supported.
Blender lets you implement various dependencies between animated objects with constraints and rigging. This means that animating one object can affect the movement of another object even though the second object doesn’t have any key frames. That is why the key frames in Blender animations aren’t directly translated to key frames in Minecraft animations. Mcblend collects the time stamps of every keyframe of every bone of the armature and goes through that list looking for movements. Every movement of every bone between two frames is saved to the exported file.
The keyframes from Non-Linear Animations (NLA) are also supported can also be used by Mcblend to detect the movements.
Enter Object Mode and select the armature with your model
In Object Properties find the
Mcblend: Animationpanel. Press “New animation” or select the animation you want to export, using theSelect animationdropdown list.Create your animation and stash the actions of the armature as the NLA tracks. You can combine multiple tracks into one animation. Mcblend remembers which NLA tracks are connected to which NLA tracks and changes the active tracks when you switch the animation.
In the
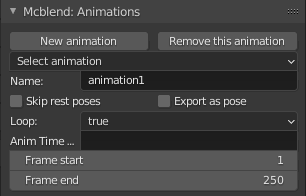
Mcblend: Animationpanel you can edit the fields with the information about the animation to configure it to your preference.Name - The name of the animation.
Skip rest poses - Whether the bones in rest poses should be exported as a part of animation. A rest pose is a pose with the default location, rotation and scale. This setting typically significantly reduces the size of the exported animation.
Export as pose - Exports the current frame as a looped animation with a pose, instead of exporting a full animation.
Loop - Whether the animation should be looped.
Anim Time Update - The content of this text field is copied to the “anim_time_update” property of the Minecraft animation. If you leave it blank, then the animation won’t use that property.
Open
File -> Export -> Export Bedrock Animation.
Note
Mcblend uses frame 0 to detect the rest pose of the model. Every movement in the animation is relative to the rest pose. If you’re exporting the model and the animation, make sure that the animation doesn’t change the pose of the model on frame 0 or you may get some unexpected results.