Object properties
Object Properties (mesh)
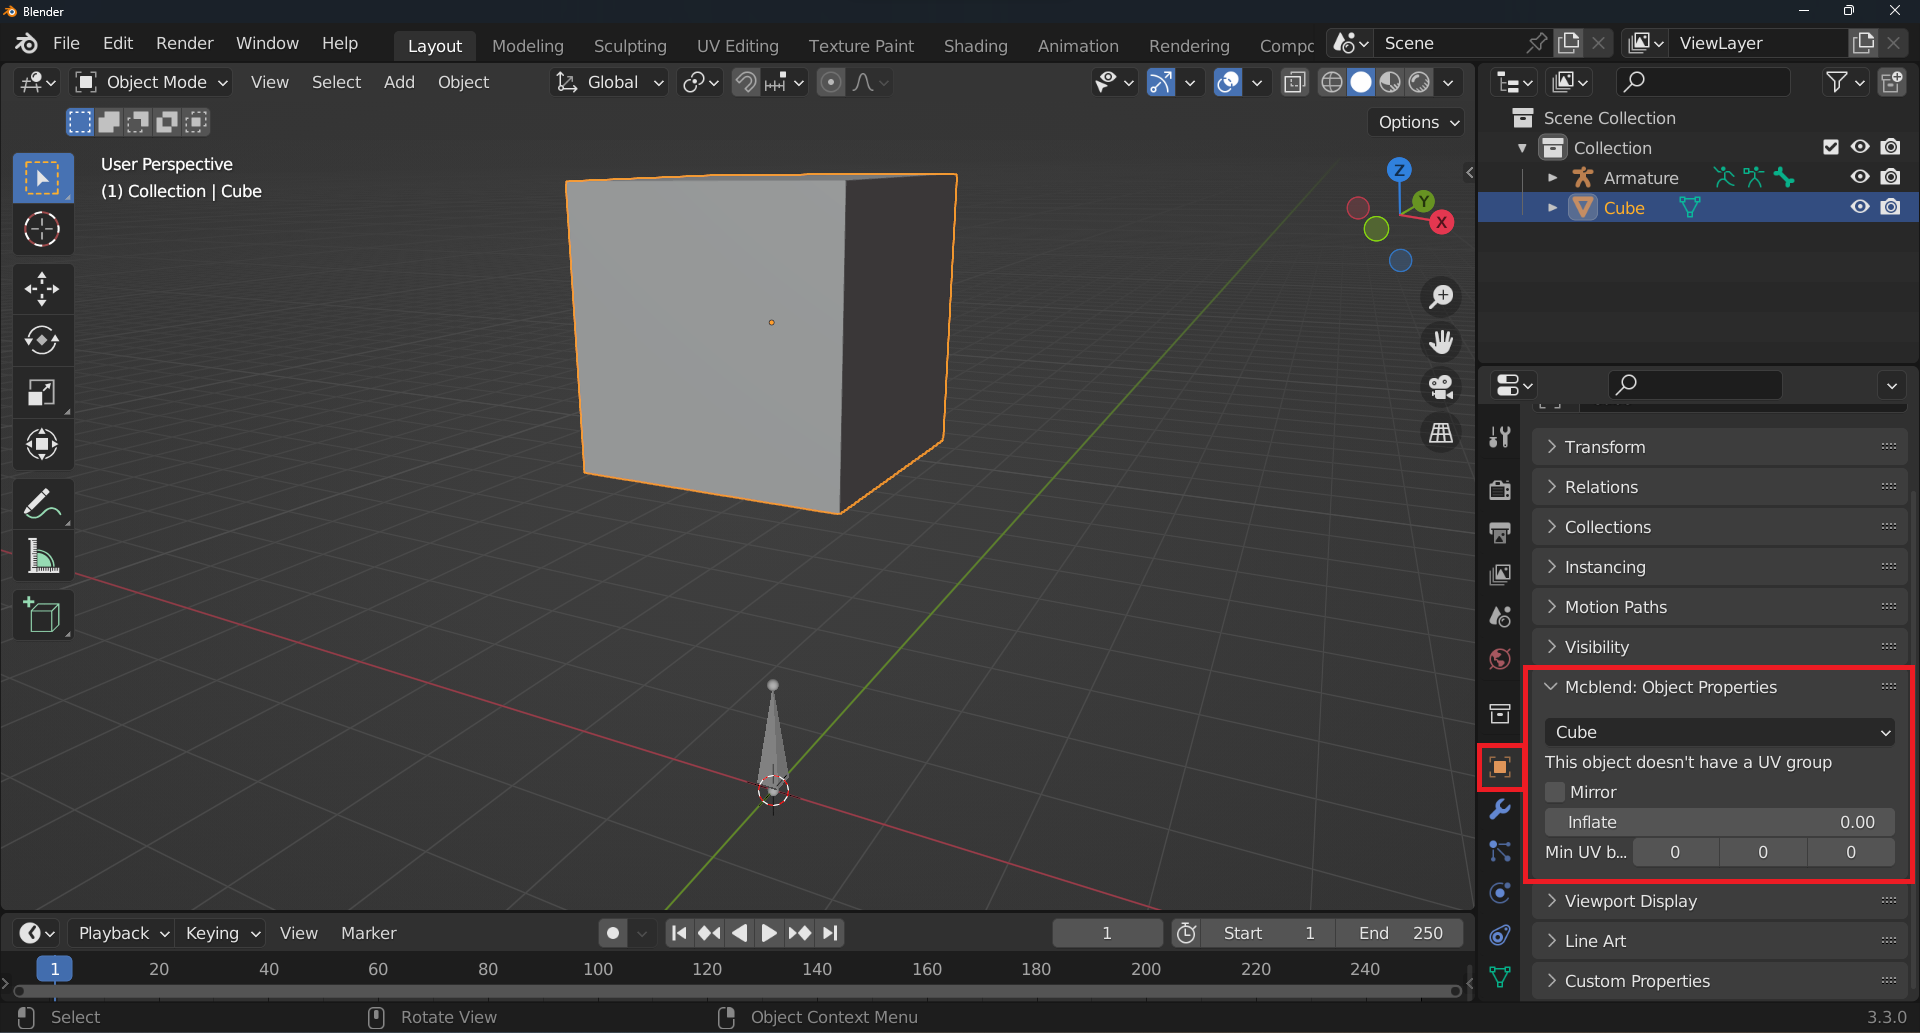
This is the panel visible when opening the Object Properties when the active object is a mesh.
Mcblend: Object properties
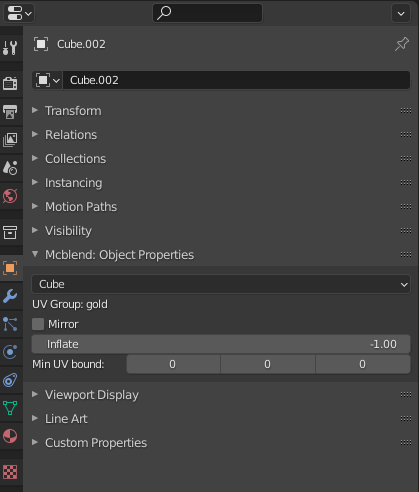
Mesh type- a dropdown list that lets you select betweenCubeorPoly mesh. Decides if the object should be exported as a cube or polymesh.UV Group(textfield) - displays the UV group name of the selected object.Mirror- the mirror property is used only during the UV mapping. It affects the mapping of the object’s faces in the same way as Minecraft’s mirror property of a cube.Inflate- stores the Minecraft’s inflate property value of the cube.Min UV bound- this property is used during automatic UV mapping. It defines the minimal space on the texture used for a cube. If a cube has width, height or depth lower than one unit of length, this property can be used to make sure that every face will get some space on the texture.
Object properties (armature)
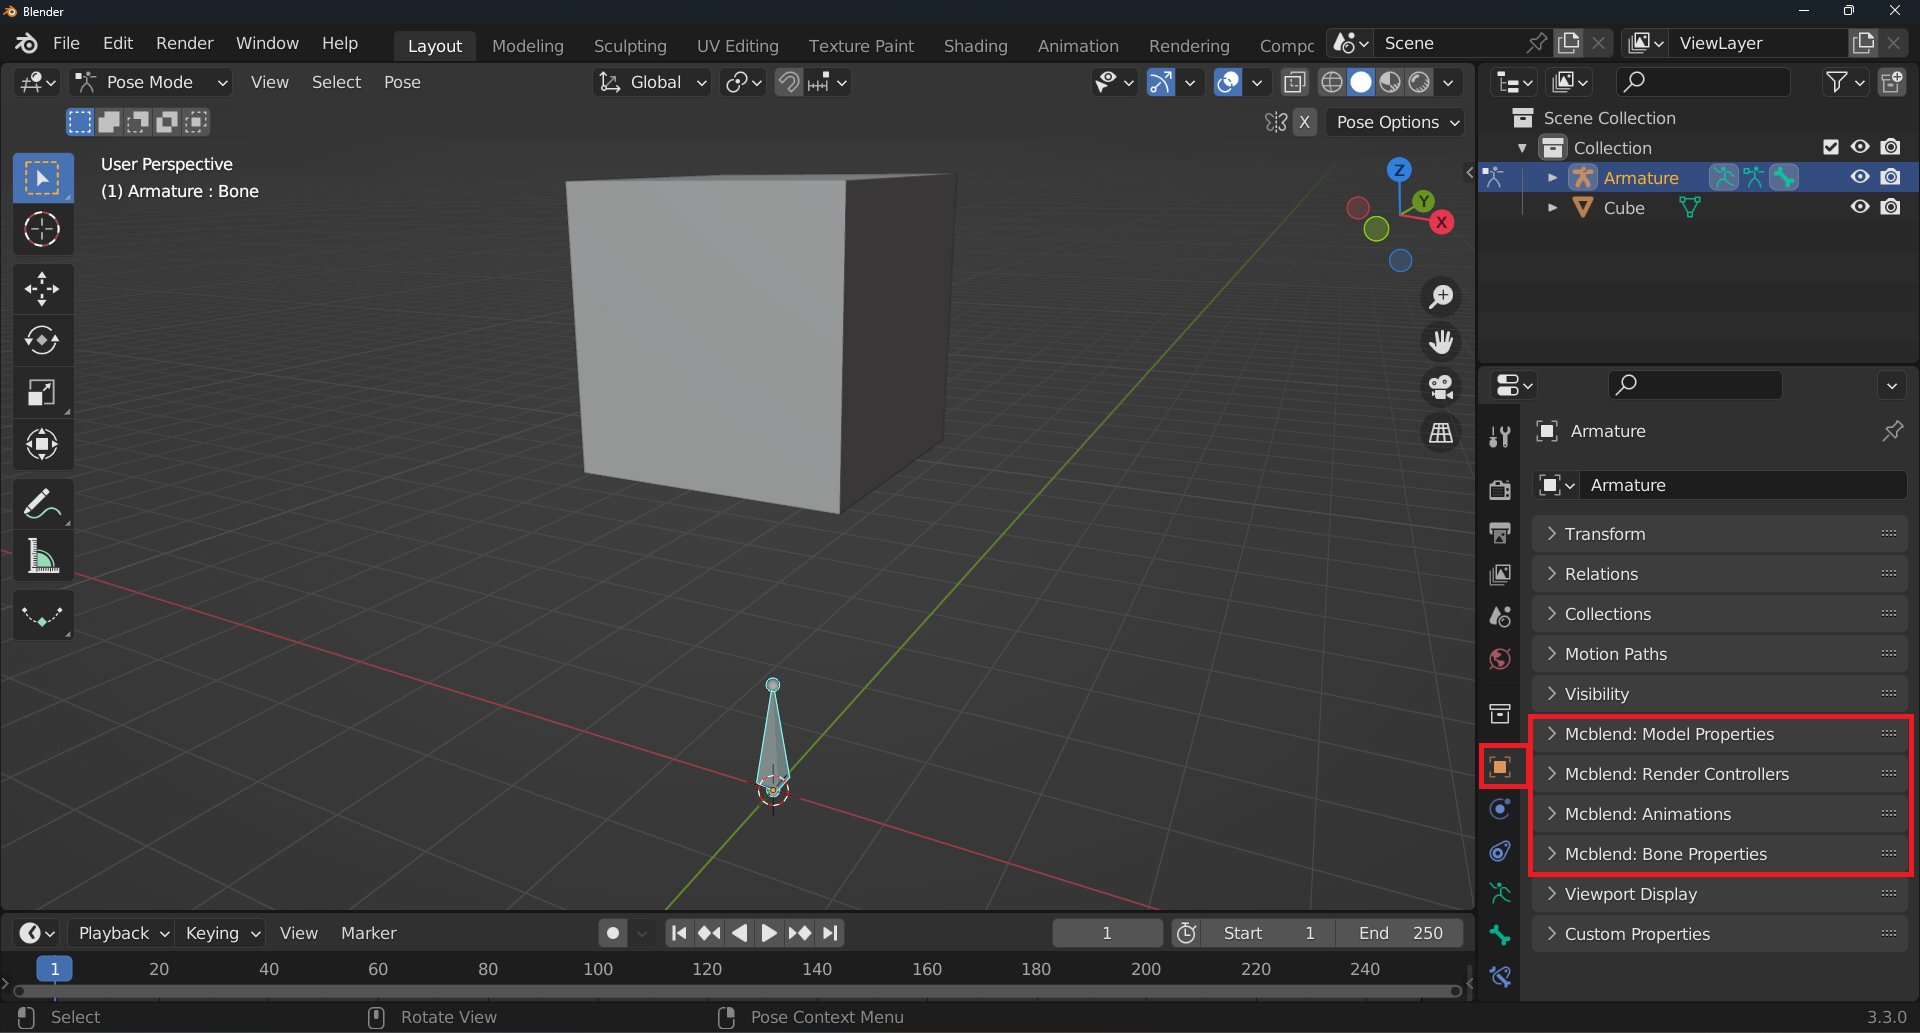
This is the panel visible when opening the Object Properties when the active object is an armature.
Mcblend: Model properties

This panel has some of the basic properties of the Minecraft model like the width and height of visible bounds (they have the same names as in the Minecraft model) and some properties used for texture generation.
Model origin- allows you to select whether the transformations of the bones and cubes in the exported model should be relative to the armature of the model or to the world origin.Name- the name of the model (excluding thegeometry.prefix).Visible bounds width- the width of the visible bounds of the model.Visible bounds height- the height of the visible bounds of the model.Visible bounds offset- the offset of the visible bounds of the model.Texture width- the width of the texture used for the model.Texture height- the height of the texture used for the model.Allow texture expanding- allows changing the texture width and height during automatic UV mapping.Generate Texture- a checkbox that decides whether the texture should be generated during automatic UV mapping or not.Template resolutiondefines the size of the texture. The real resolution of the generated texture image is equal to texture width and height multiplied by texture resolution.Automatic UV mapping- a button that triggers the automatic UV mapping.
Mcblend: Render Controllers
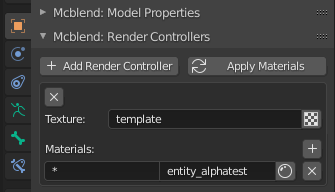
The Materials panel allows you to quickly create materials that are similar to those found in Minecraft. To do this, you can add multiple render controllers to your model. Each render controller can only have one texture, as multitexture materials are currently not supported. However, a render controller can have multiple Minecraft materials, which can be assigned using name patterns in the same way as you would in Minecraft.
Once you’ve set up your render controller, you can use the Apply materials button to automatically create the materials for preview in Blender. This will help you get a better sense of how your model will look in Minecraft.
Mcblend: Animations
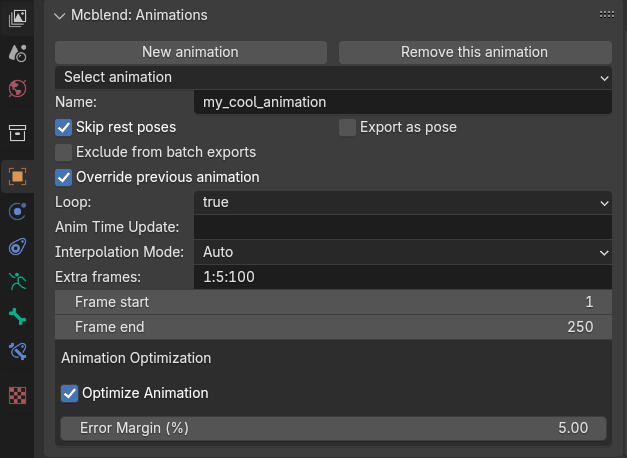
The Mcblend: Animations panel allows you to easily switch between animations in your project. These animations are represented as NLA tracks on the armature, with additional data attached to them. Selecting a different animation in the panel will also switch the active NLA track.
New animation- Creates a new animation. This operator cannot be used while editing an action of the armature; you must stash the current action first.Remove animation- Deletes the currently active animation.Select animation- A dropdown list to choose which animation to edit.Name- Sets the name of the animation.Skip rest poses- Enables animation export optimization. When enabled, keyframes that represent rest poses (and thus don’t affect the armature) are skipped in the exported file. Enabling this option is generally recommended.Export as pose- If enabled, the exported animation will contain only a single looped frame.Exclude from batch exports- If enabled, this animation will be skipped when using the Batch Export Bedrock Animations operator. Alternatively, you can select animations to export during the export process.Override previous animation- Directly translates to theoverride_previous_animationproperty in the Minecraft animation file. This setting does not affect how the animation is rendered in Blender.Loop- Directly translates to theloopproperty of the Minecraft animation file, with options:true,false, andhold_on_last_frame.Anim Time Update- Directly translates to theanim_time_updateproperty of the Minecraft animation file. Leave this empty if not needed, or provide a Molang expression. Note that Mcblend does not support Molang, so this setting does not affect the animation within Mcblend.Interpolation mode- Directly translates to the interpolation mode of the Minecraft animation file, with options:linear,smooth,step, andauto. Theautooption uses the interpolation based on the interpolation modes used for each keyframe.Extra frames- Allows you to specify additional frames or frame ranges to be included in the exported animation. Refer to the dedicated Extra Keyframes page for details on patterns and usage.Frame start- Indicates the first frame of the animation, defining its starting point in Mcblend.Frame end- Indicates the last frame of the animation, defining its end point in Mcblend.Optimize Animation- Enables animation optimization during export.Error margin- Defines how much error is allowed when optimizing the exported animation.
Object properties (bone of armature)
Mcblend: Bone properties
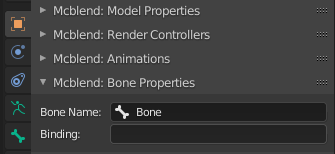
This is the panel visible when opening the Object Properties when the active object is a bone in a Pose Mode.
Bone name- This displays the name of the currently selected bone. You can also use it to rename the bone.Binding- This property corresponds to Minecraft’s binding property. It is useful for creating models of attachables, but does not affect the model in Blender.