Creating models from scratch
On this page, you will learn how to create a Minecraft model using Mcblend from the very beginning. This includes adding cubes to the scene, creating an armature, parenting the cubes to the armature, generating the UV maps and texture for the model, and exporting the final model for use in Minecraft. This is a minimal explanation and some of the details are left out. You can find more information about the various steps in the rest of the documentation.
Adding cubes
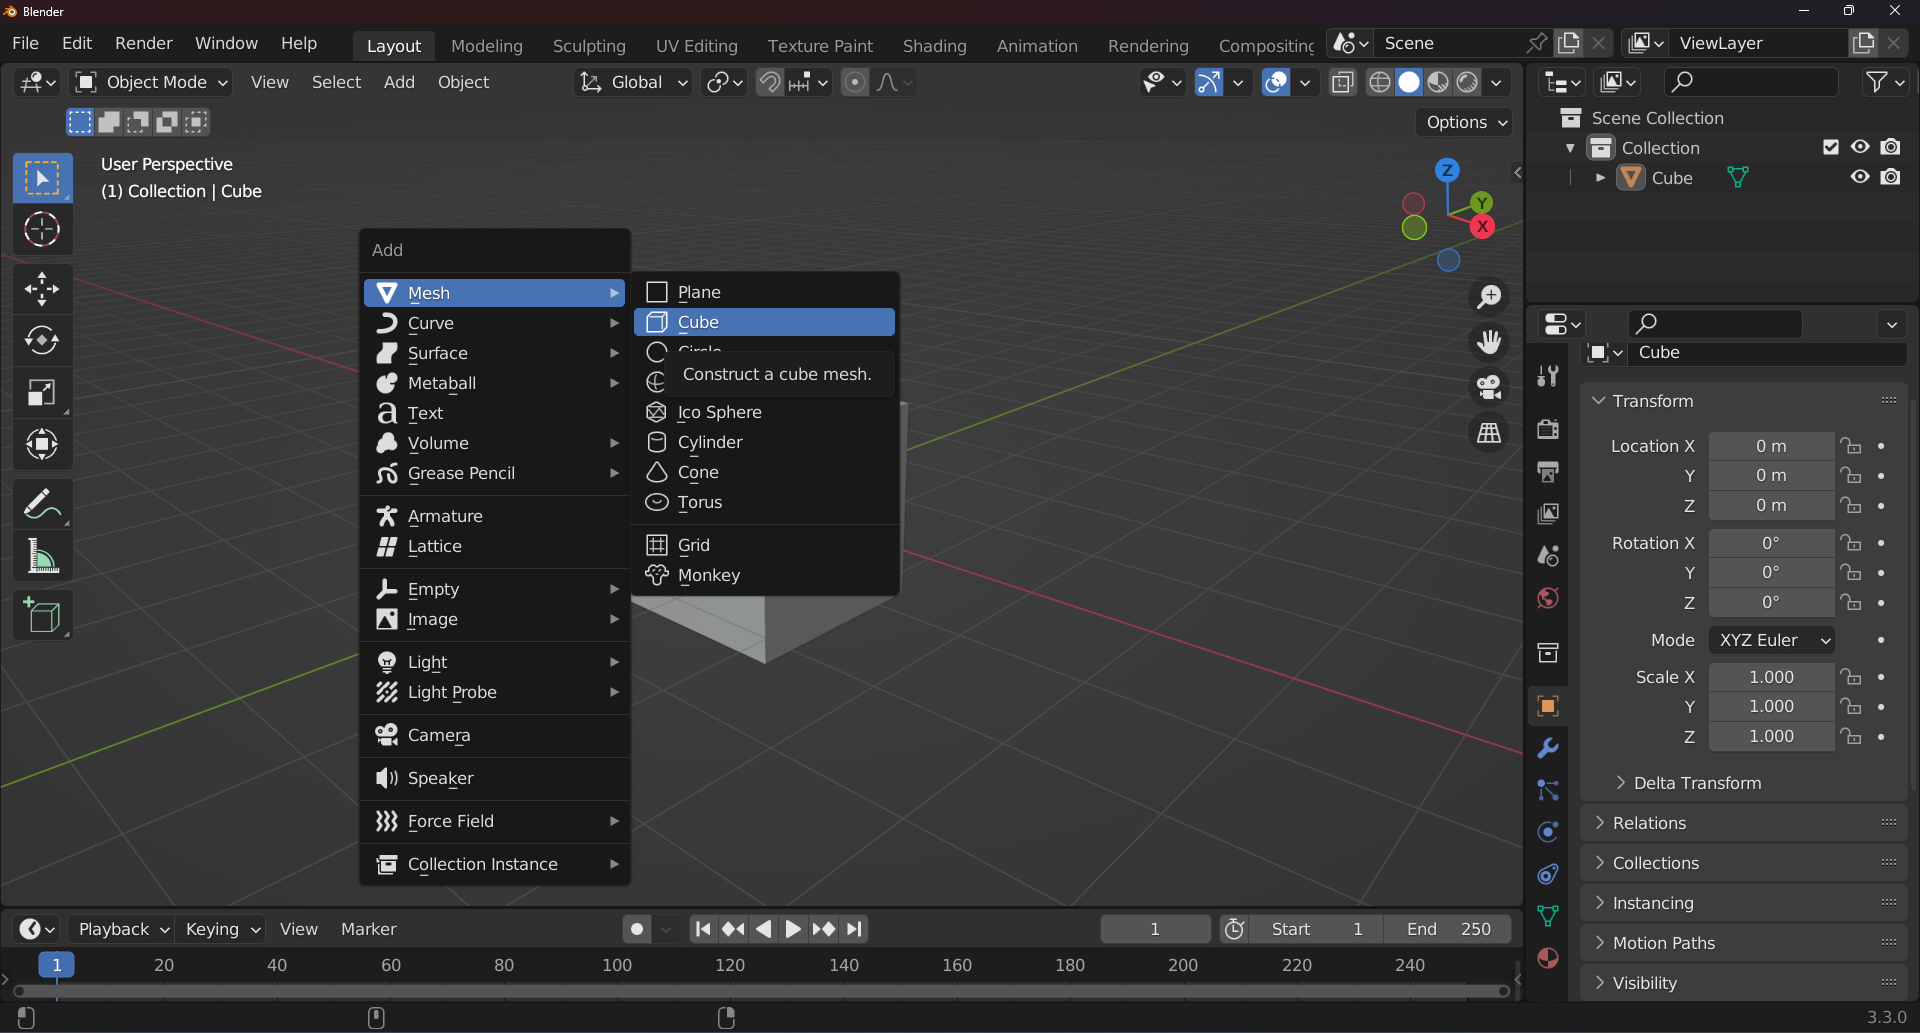
Assuming your scene is empty, start by adding cubes to it. To add a cube to your scene, press Shift+A and select Mesh > Cube from the menu that appears.
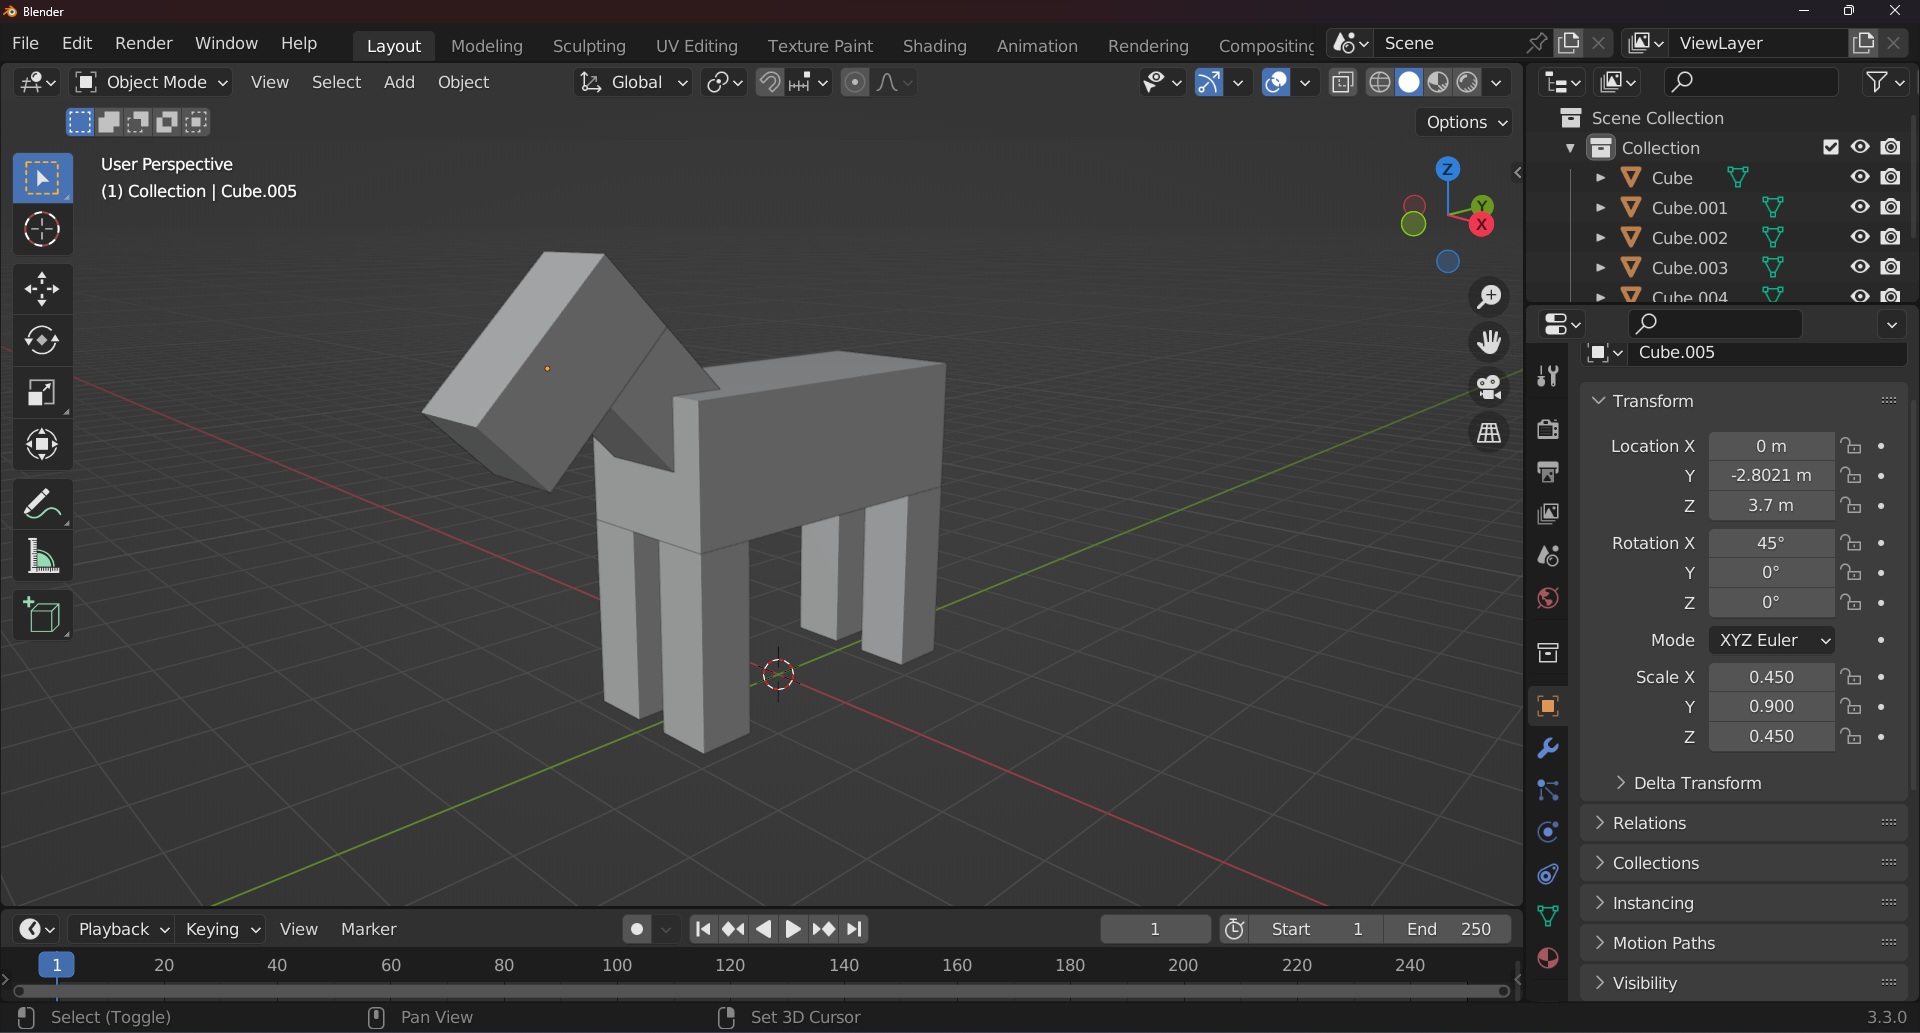
You can then transform the cube in object mode or edit mode by using the various transform tools, such as moving, rotating, and scaling. Just be careful not to deform the shape of the cube when using edit mode, as the cube must still have a cuboid shape and be aligned to the axis of the object that holds the mesh. Once you have added and transformed your cubes, you can proceed to the next steps of creating your Minecraft model.
Creating an armature
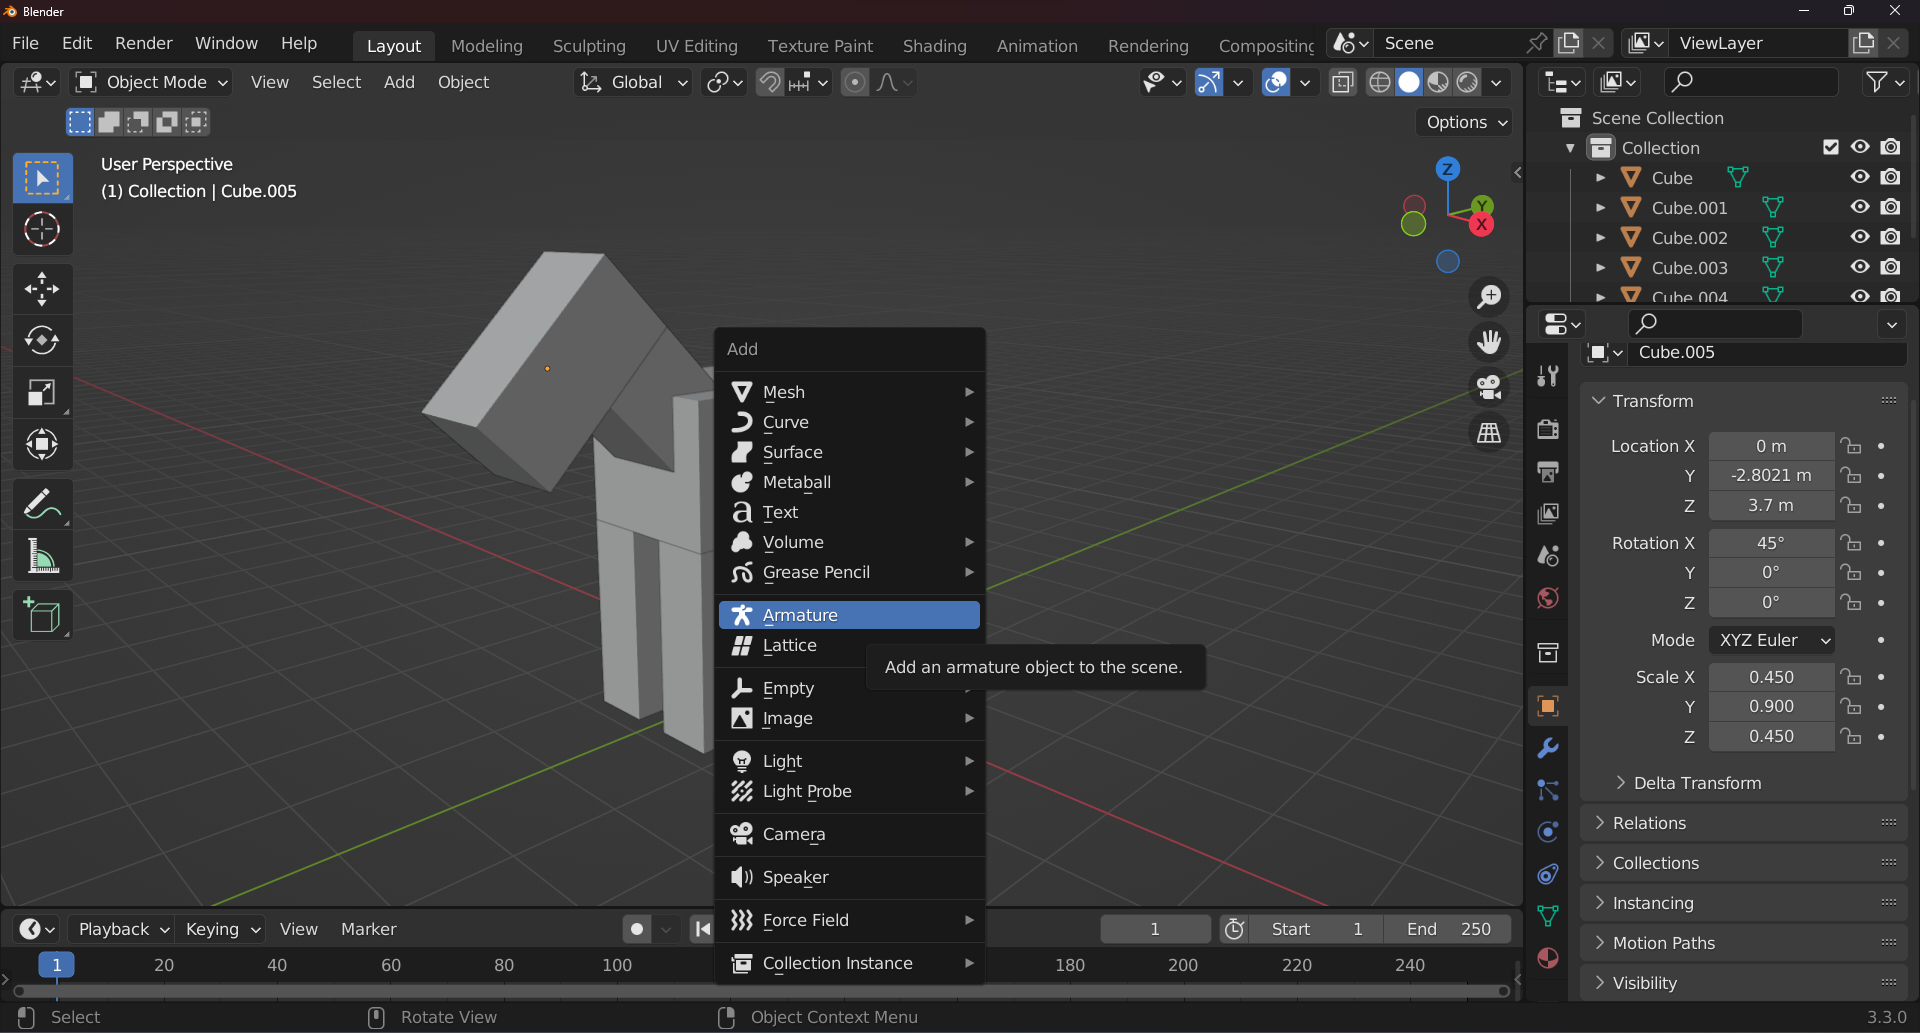
Next, create an armature for your model. To create an armature, use the Shift+A shortcut and select Armature from the menu that appears.
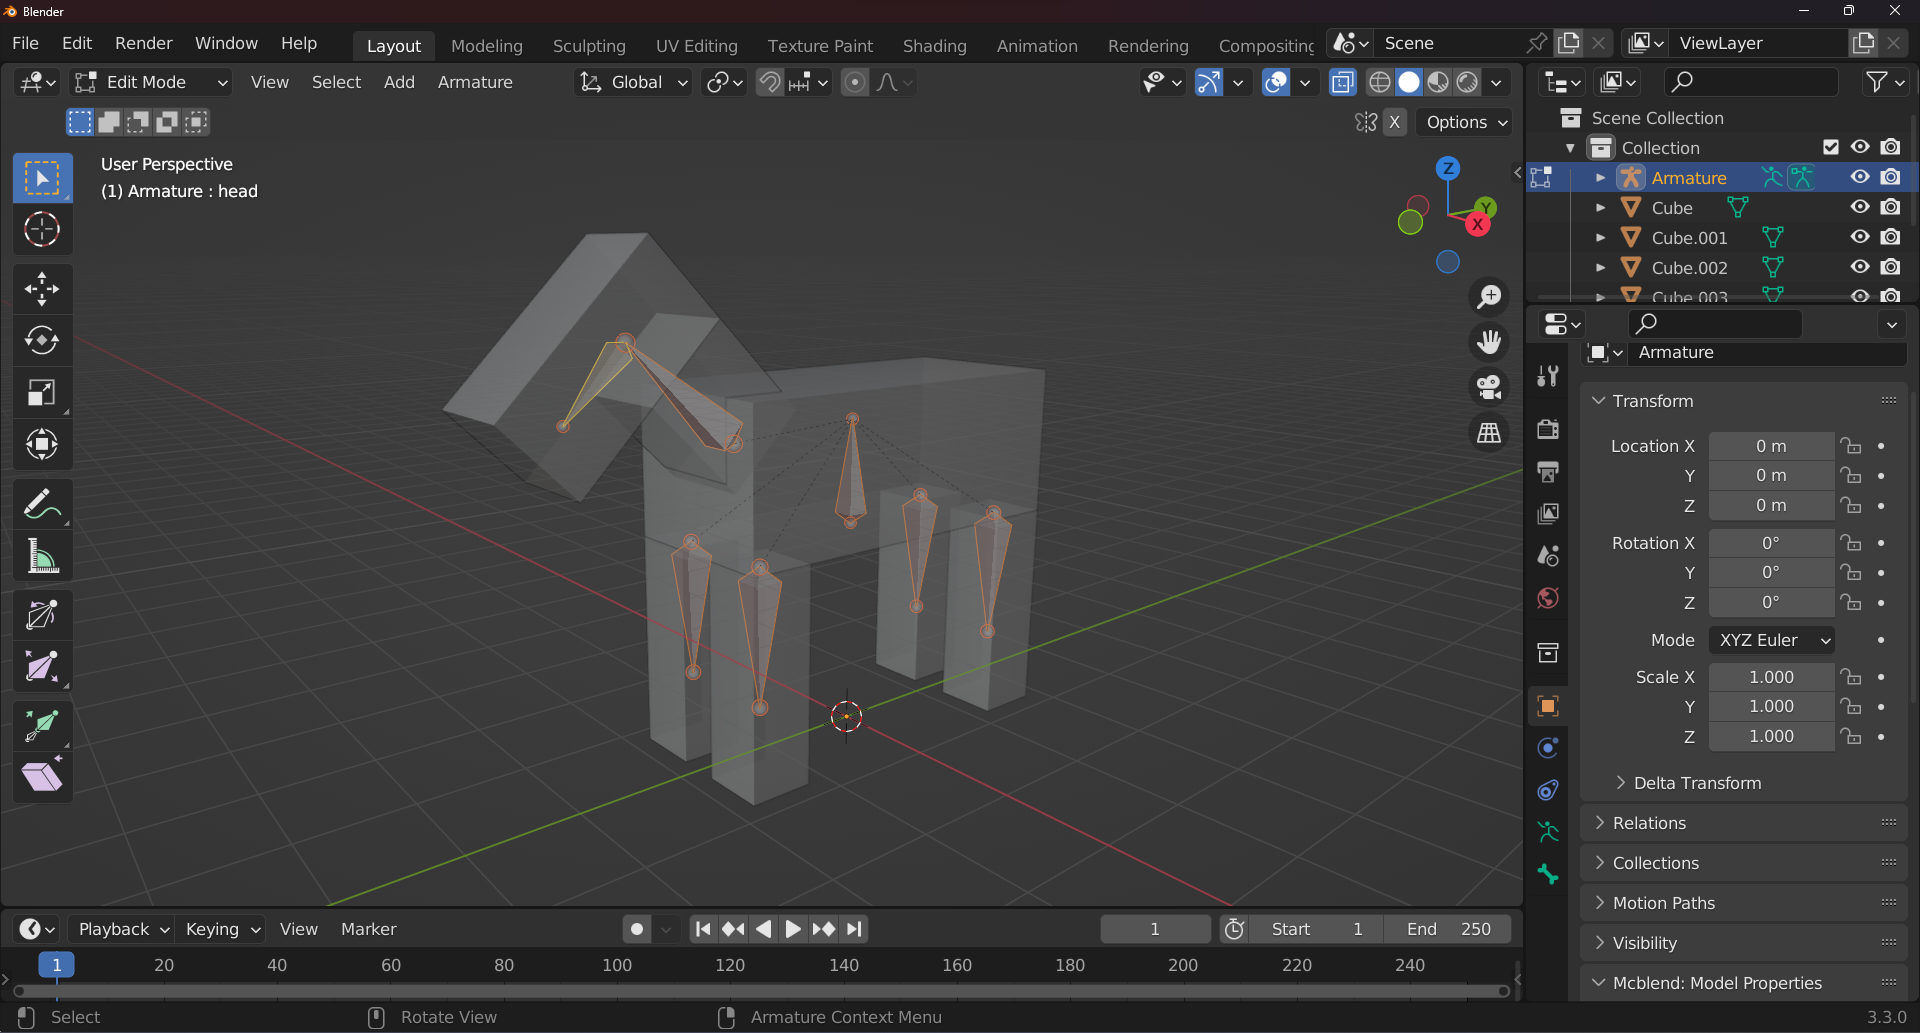
To add bones to your armature in Mcblend, first select the armature object in Object Mode. Then, enter Edit Mode and use the Shift+A shortcut to add bones to the armature. Position and orient the bones to match the model you are creating, paying careful attention to the placement and orientation of each bone in relation to the model. Remember to name your bones properly using the F2 shortcut. The bones don’t need to be connected in Minecraft, as the length of the bone is not used and is lost when the model is exported. However, it is still a good idea to create an armature that makes sense in Blender, as it will be easier to work with.
Parenting the cubes to the armature
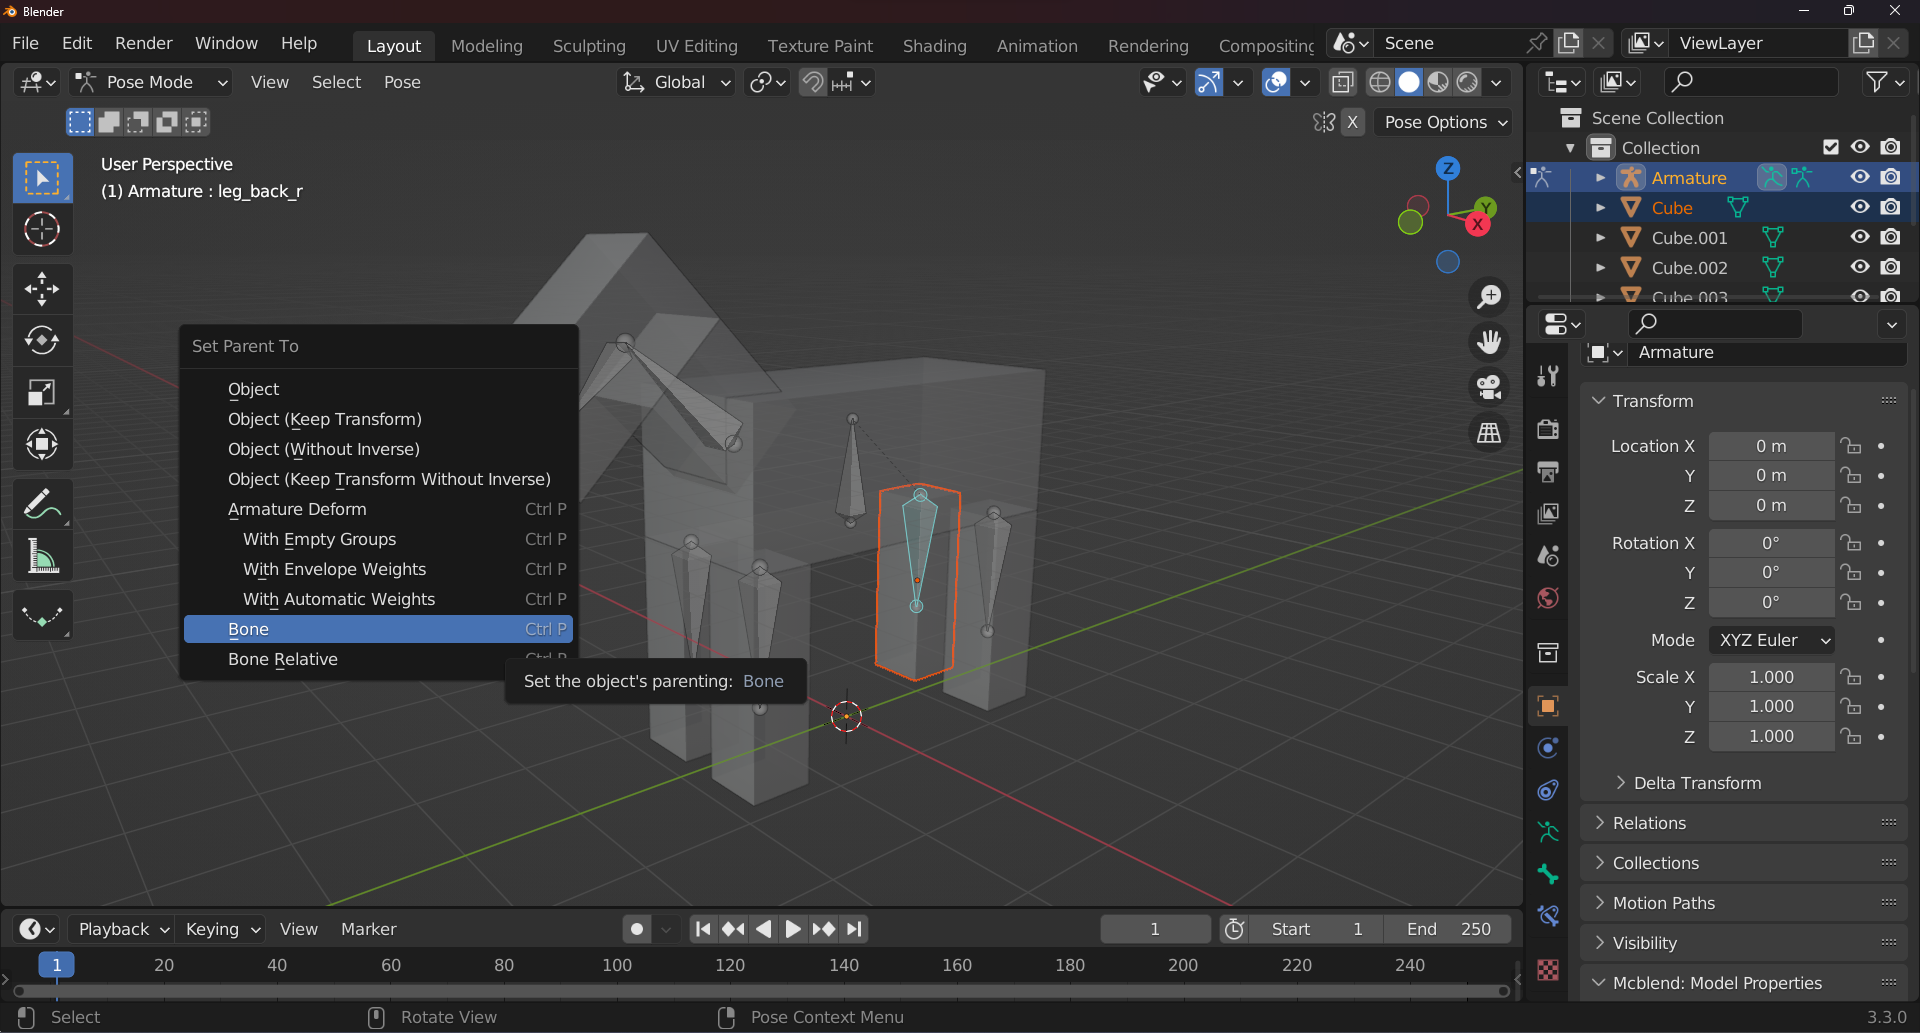
When you’re done with adding bones to the armature, you can exit Edit Mode and start parenting the cubes to it. Mcblend requires that you use the specific Bone parenting mode. This mode is rarely used, so you may not be familiar with it. In order to parent an object to a bone using the Bone parenting mode, you have to follow these steps:
Select the armature and enter Pose Mode.
Select the cube you want to parent to the bone using the Outliner menu on the right of the screen.
Select the cube by clicking it in the 3D viewport. At this point the bone should be highlighted in a light blue color and the cube should be highlighted in an orange color (see image below).
Parent the cube to the bone using the
Ctrl+Pshortcut and selecting the Bone option.
Repeat this process until all the cubes in your model are parented to the armature.
UV mapping and texturing
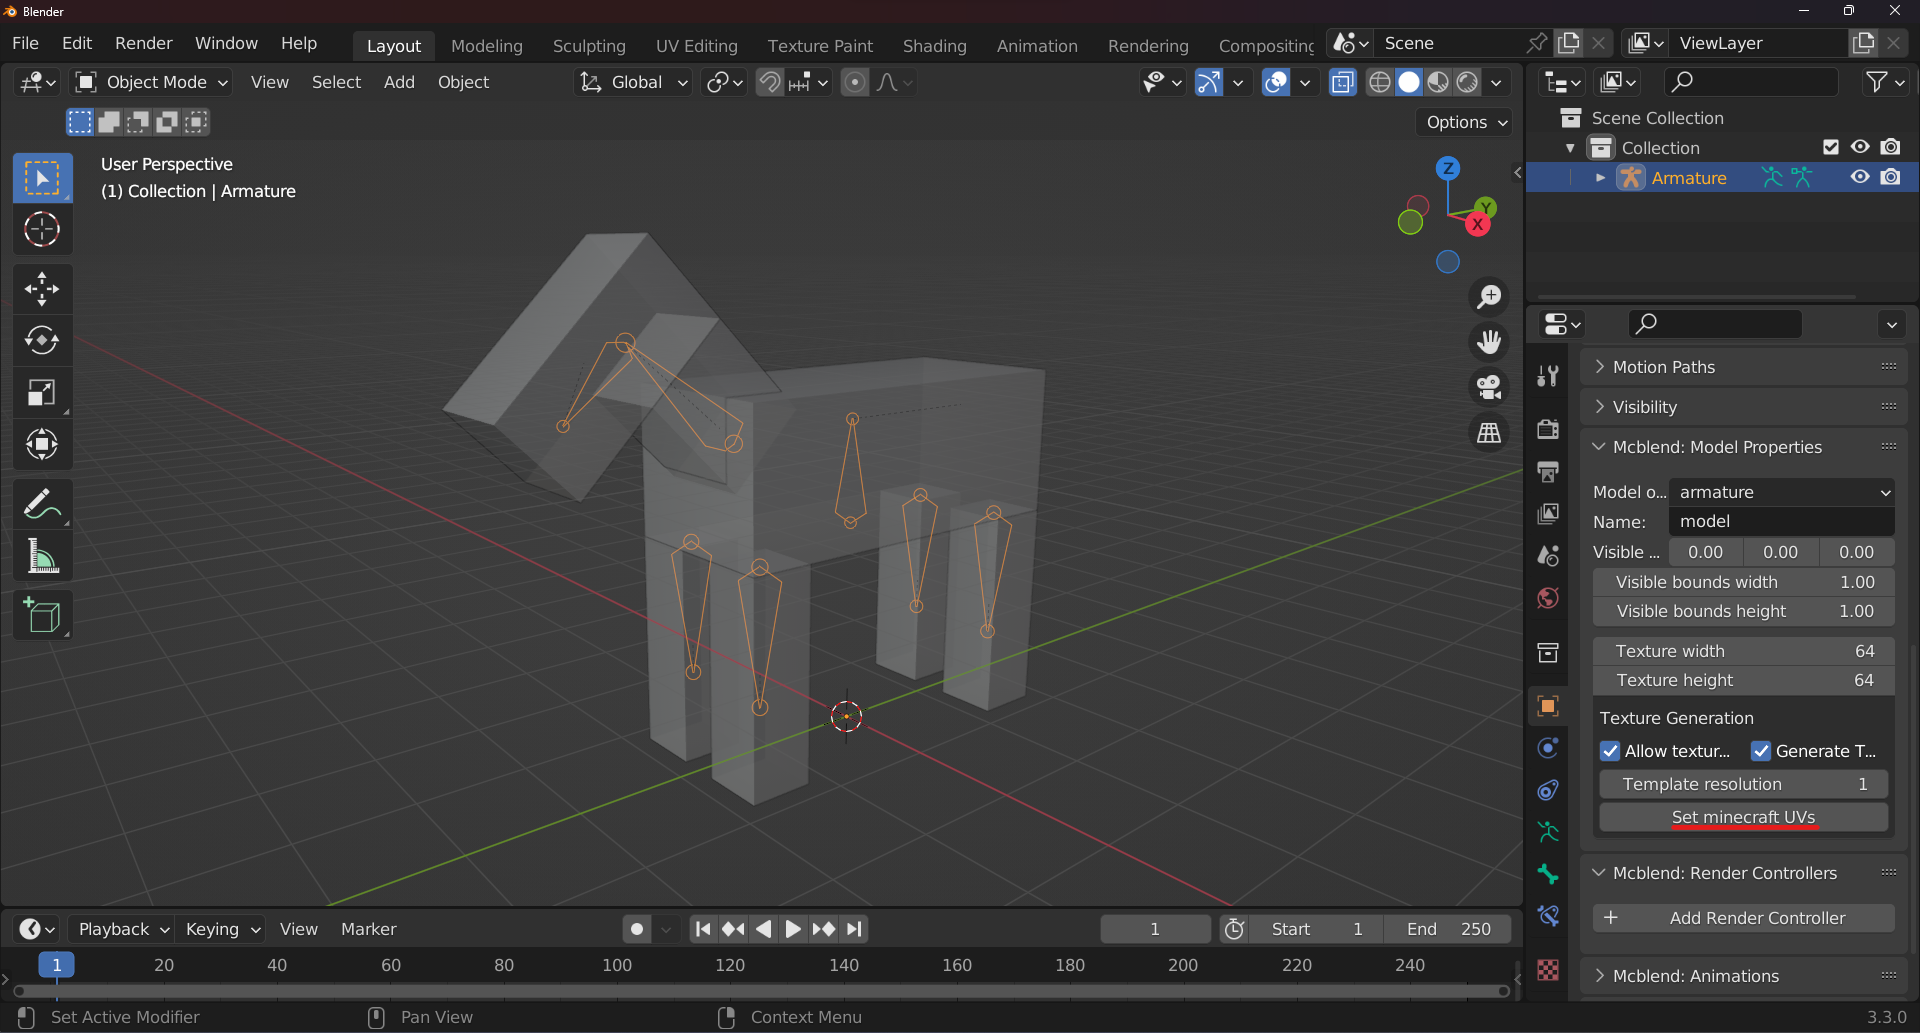
Generate the texture for your model by selecting the armature in Object Mode and pressing the Set minecraft UVs button in the Object Properties panel in the Mcblend: Model Properties tab. This will adjust the UV maps of the cubes connected to the armature, and create a texture called template.
The texture won’t be connected to the model automatically. To do this, you’ll need to use the Render controllers feature in Mcblend. These work in a similar way to the render controllers in Minecraft. They define which textures should be used by the model, which cubes they should be applied to, and the properties of the material of each cube. Internally, in Mcblend, render controllers are just a tool for generating Blender materials similar to those used in Minecraft.
To generate a material for your model, select the armature in Object Mode and go to the Mcblend: Render Controllers tab. Then, press the Add Render Controller button to create a box with additional properties. You can ignore most of these properties for now. To apply the template texture to your model, use the button with a texture icon next to the Texture field to select the template texture, and then press the Apply Material button. This will apply the material to the cubes of your model. You can view the textures on the model by switching the viewing mode in the 3D viewport to Material Preview.

The texture generated by Mcblend is an internal Blender resource. You can can save it just like any other texture by going to the Image Editor and pressing the Save Image button. To further customize the look of your model, you can edit the generated texture in an external software like Gimp.
Finally, you can export your model by selecting the armature and pressing the Export Bedrock Model button in the File > Export menu. The exported JSON file can then be used as a model in Minecraft. For more information on configuring your model before exporting, including additional settings and options, see the “Exporting models” section.
